Your rocks are finally done after days or even weeks of tumbling and it’s time to move them along to the next step in the tumbling process. Great! But what to do with the used grit and slurry you’ve just created? This can be a significant problem for a lot of rock tumbling hobbyists – particularly those that are new to the process. I remember wondering to myself about what I should do with the slurry. The directions I was following didn’t cover the topic and I couldn’t find a good resource online. After gaining some experience with the hobby I have learned of many ways to dispose of rock tumbling slurry, several of which I use myself.
Here are 6 proven methods to dispose of used rock tumbling grit and slurry:
- Pour the slurry into a container and allow it to dry, then throw the remnants in the trash
- Dump the slurry in your yard, the woods, or a gravel driveway
- Dig a hole, pour in the slurry, and cover with dirt
- Allow the grit to settle out of the water, then pour the grit into a trash container
- Pour the slurry into a jar or Tupperware container and carefully throw it in the trash
- Use the slurry as a fertilizer for plants in your garden
DO NOT POUR ROCK TUMBLING SLURRY DOWN A DRAIN. The slurry will eventually harden and act as a cement, clogging your pipes. Pouring slurry or used grit down a drain can result in expensive repairs that could have easily been avoided by using one of these methods.
Each of these methods has its pros and cons, and which one is right for you will likely depend on your living situation, the tools you have at your disposal, and what type of material you’ve been tumbling. I’ll go into more detail on each one and let you choose which one is best for you.
Methods for Rock Tumbling Slurry Disposal
Allow Slurry to Dry, Then Throw Remnants in Trash
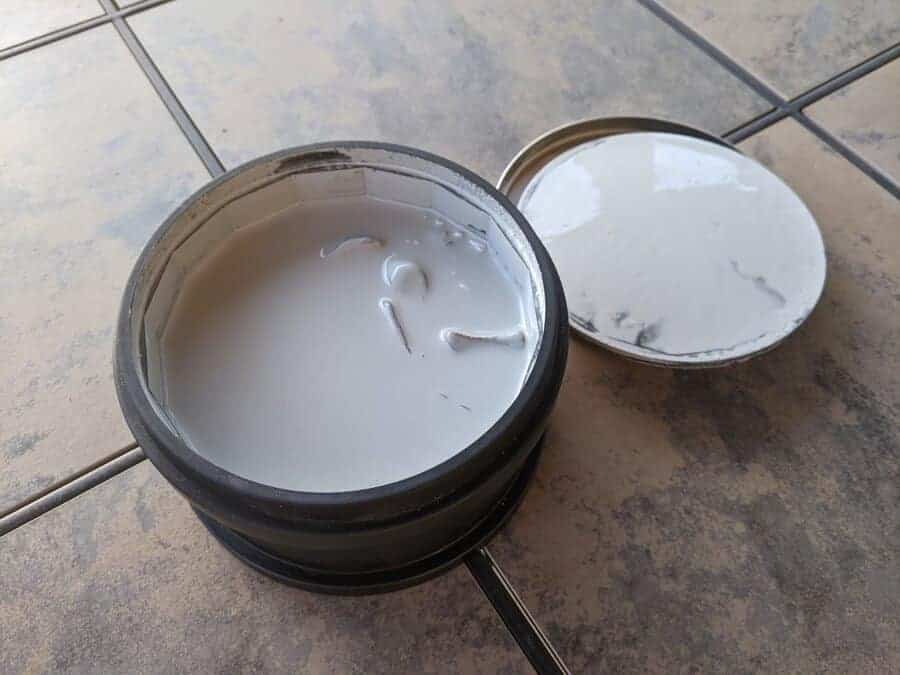
One of the cleanest ways to dispose of your slurry is to put it into a container and to let it completely dry out over a few days. How long this takes will depend on how much slurry you have, the size of your container, and the temperature and humidity. The idea of this method is to completely evaporate out all of the water so that you’re left with a dry, cement-like crust at the bottom of your container. Then you can just break it up and throw the remnants in the trash with no worries.
In order to speed this process up, I recommend using a large container such as a five-gallon bucket or an old cake pan. The larger the exposed surface area on the slurry, the better. This will make the evaporation process much faster than a smaller container would allow. If you have put it in a warm, well-ventilated space (or outside with a nice breeze) then that’s even better.
Bonus Tip: Save the dried pieces to use as a ‘starter’ for your next batch of rocks. If you are disposing of Step 1 slurry, save the cement-like pieces and add some to Step 1 of your next batch of rocks. This can help thicken your slurry more quickly for more effective tumbling.
Pour Slurry in Yard, Woods, or Gravel Driveway
This is probably the most common slurry disposal method used by rock tumbling hobbyists, myself included. It’s very popular because it’s extremely fast and easy when compared to some of these other methods. I sometimes just take a plastic colander outside and put on on the grass somewhere out of the way like the corner of the yard or next to the house and then pour the contents of the tumbling barrel in. The colander catches the rocks and tumbling media and the slurry just spills out onto the ground.
Some people are concerned that doing this will damage their lawn, and while I have seen other people report that it leaves a dead spot that has not been my experience. I have Bermuda grass where I live which tends to be very hardy so maybe that has something to do with it. The slurry does tend to leave a chalky film on the grass once it dries which could block the grass blades from absorbing sunlight. If this is a concern you have then I’d recommend just washing the area down with a hose. Slurry and tumbling grit is non-toxic so it won’t harm the soil – in fact, it can be beneficial as I’ll get into later on.
Pouring the slurry out onto a gravel driveway is a very popular option. I have a cement driveway so I can’t get away with this, but if you have a gravel driveway or other gravelly area then that’s an ideal location to dump your used slurry. It will sift through and blend in with gravel and, in many cases, it acts as a binding agent to help reduce the dust associated with gravel driveways.
Dig a Hole, Pour Slurry in, and Cover With Dirt
If you have a yard but you’re concerned about the impact your slurry will have on the grass you can always dig a hole to pour the slurry into. Just use a shovel to cut away a patch of grass, dig down about a foot, and pour the slurry into the hole. Then, re-fill the hole with dirt and place your patch of grass back on top, good as new! Grass roots don’t penetrate very deep into the soil so there is no reason to be concerned about the slurry harming your lawn.
Some people go so far as to dig permanent boxes in their lawns with hinged lids. These wood-lined boxes tend to be about a foot square and a couple feet deep and allow you to quickly dump your slurry in a designated location without worrying about potential harm to your lawn. The guy in this video shows a great example of this:
Allow Grit to Settle, Pour Out Water and Trash the Sludge
It is often possible to separate the grit and rock particles from the water, especially if your slurry is from the first couple of rock tumbling steps. To do this, pour your slurry into a large container like a 5-gallon bucket and let it sit still for a day or two. The particulate will settle to the bottom of the container, leaving mostly-clear water on top. You can then pour that water outside or even down the drain if it’s clear enough (being careful not to pour any solids in with it). If you have a piece of flexible tubing you can also use that to siphon off the clear water.
Once the bulk of the water is removed you’ll be left with the very thick remnants of your slurry. The biggest benefit of this method is that the overall volume of the slurry is significantly reduced when you pour off the water, making it easier to dispose of the rest. You can scoop and pour the thickened sludge into an old spaghetti sauce jar and then throw it straight into the trash. Again, slurry is non-toxic so this is safe to do.
Pour Slurry into Sturdy Container and Throw Into Trash
If you don’t have the time or energy to let the grit and rock particulate settle to the bottom of a container you can always just throw the entire batch of slurry into the trash. However, this can be really messy if you don’t do it right and I’d recommend taking a few precautions for both your and your garbage man’s sake.
The biggest danger with this method is that the slurry will end up leaking or spilling somewhere you don’t intend. Find a very sturdy container like an old glass spaghetti jar or Tupperware container that you can use. Make sure the lid is sealed tight and that you don’t throw the trash bag around once you’ve thrown it away. Don’t just dump the slurry into your kitchen trash bag – any tiny hole or tear will result in a bad time.
Use Slurry as Fertilizer for Plants in Your Garden
This is another favorite method of mine because it feels much less wasteful than the other methods. It’s nice to be able to reuse your slurry for something beneficial instead of just tossing it out. There are many plants that will benefit from the minerals found in rock tumbler grit. I’ve poured my slurry onto my gardenia bushes and azaleas with great success. I’m not a gardening expert but I try to spread the slurry around – not too much on any one plant and make sure not to completely cover the area near the base.