As rock and mineral collectors, it is easy for us to accumulate more specimens than we know what to do with. I decided to write this guide to give you some ideas on how to organize all of those great finds of yours. Just follow these steps and you’ll have that pile of minerals sorted out in no time!
1. Identify, Label, and Catalogue Your Collection
This first step is by far the most time consuming and can feel a bit daunting at first. But don’t worry, the time you spend here will be well worth it and it will make the rest of this process a breeze. After all, you can’t organize those specimens unless you know what they are, right?
Many of you may already have this step done – good for you! Still, now can be a good time to take stock and make sure that the information for each specimen is as complete, accurate, and uniform as you can make it.
Identifying your samples can be tricky, especially if it has been a while since you collected them. Hopefully you are fairly familiar with your samples, but if no you can always ask for help from a local club, rock shop, or online.
How you label your samples is up to you. The two primary methods are to have a label card with all the relevant information kept with the sample at all times, or to mark the sample with white-out and a number in black sharpie and keep the corresponding label card separate.
I like to take a photograph of each item with its card and save it somewhere secure in case the card is ever lost.
How you catalogue your samples is up to you. At a bare minimum I would recommend including the name of the rock or mineral, where it was collected, the date it was found, and who found it. If you purchased the item then document who you purchased it from and anything else you know about it.
Now would also be a great time to make sure you have a backup of your catalogue. The photographs I mentioned earlier are a great way to do this, especially if they’re stored on the cloud. You can also make duplicates of the labels and keep them in a fire-proof safe, or make a digital record and save it in multiple locations.
As unpleasant as it is to think about, having a properly catalogued collection can be invaluable in the event of your death. If a family member inherited your mineral collection, chances are they would have no idea what the story behind each item is. It might even be advisable to have a rough estimate of the worth of each specimen included on the label (especially if it’s a valuable piece!) so that the collection doesn’t just get thrown away.
2. Decide How to Sort Your Specimens
This is where the fun really starts! There are no wrong answers here, so feel free to get creative. Depending on the makeup of your collection and your own personal preference, you may choose to sort your samples by:
- Location they were found
- Type of rock
- Mineral class or group
- Alphabetically
- Color
- Size
You can mix and match any of these organizational categories or add your own. I am a big fan of sorting by location – I feel like it’s easier to tell a story with your samples that way.
3. Choose What Samples to Display
Now you’ll need to choose which items you want to keep out for display purposes and which are going to go back into storage. Which specimens you display is entirely up to you. Remember they don’t have to be museum quality. If they are special to you in some way then let other people see them!
You may choose to display rather ordinary looking pieces if they are interesting in some other way. People might ask about them and give you an opportunity to tell a story about how your found it or the cool place you traveled to in order to find it. As long as you’re proud of it, it’s worthy of display.
That being said, we all end up with plenty of samples that leave us wondering “why did I keep this?” If it really doesn’t mean anything to you and it has no material value, feel free to just throw it away. For those ‘just okay’ pieces, hang on to them in case you ever feel like examining them again.
4. Arrange and Display Your Prized Pieces
Now things are getting really fun! Using the organizational method you decided on in Step 2, we’re going to start arranging them items you selected for display in Step 3.
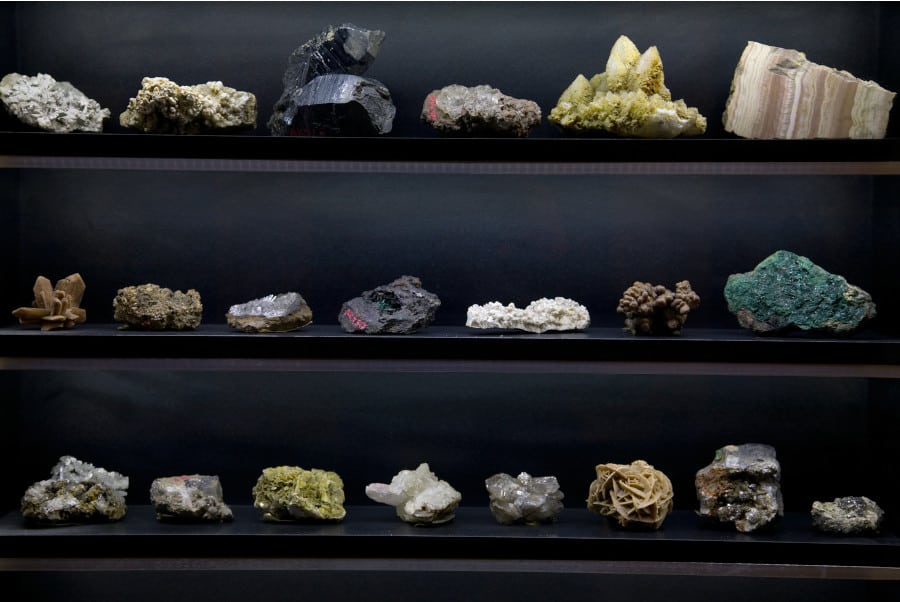
You may already have a place picked out to show off your collection. Ideally, they would be shown off in a well-lit glass cabinet with mirrored backing, but that isn’t realistic for many amateur collectors. Many people choose to keep their samples in appropriately sized plastic containers or in small drawers.
When arranging your pieces there are many strategies to choose from and it will come down to personal preference.
My preferred method is to choose the largest piece in each of my categories and then arrange the others in that category around it. For example, if I’m organizing my display by locality I would choose the largest piece from each place and then arrange the rest of the pieces around it.
Many people prefer a grid-like display, and depending on the makeup of your collection this can be an excellent choice. If most of your display samples are similar in size this is especially pleasing to the eye.
Try to avoid packing too many samples into too small of an area. If you cram them all together it is more difficult to appreciate the beauty of each piece. Let each specimen have enough room to stand alone and be admired individually, but remain close enough to other pieces in its organizational family to keep a sense of order.
If you have chosen to display the label cards with each sample make sure they look uniform. Ideally each label will be formatted the same way to give the collection a more professional look. Make sure they are arranged in such as way so as not to obscure or distract the viewer from the main attraction.
5. Properly Store The Rest of the Collection
Now for the samples that weren’t lucky enough to make it to the main event. Don’t feel bad for them – they’ll still get the care and attention they need.
With these items the goal is to keep them safe and organized for the next time they’re needed. Make sure they aren’t touching one another, and that they are properly shielded from the elements and possible physical damage.
In order to keep your specimens from breaking, I would suggest gently wrapping them in newspaper before placing them in their own individual boxes. If you don’t have small boxes available, consider using egg cartons or shoe boxes in the interim, but these should only be temporary solutions.
Keep your minerals out of direct sunlight if possible. Many minerals will lose the color (some will even darken!) if exposed to direct light for extended periods of time.
Also keep in mind that some minerals are soluble in water and will break down if exposed to humid conditions. If possible, keep your minerals in a dark, dry place. You can also store these samples with rice or silica gel in order to wick away some of the humidity.
These general guidelines should protect the vast majority of your mineral samples. There are some fringe cases, however, so make sure to do some quick research on the care of each specimen you’re putting into storage.